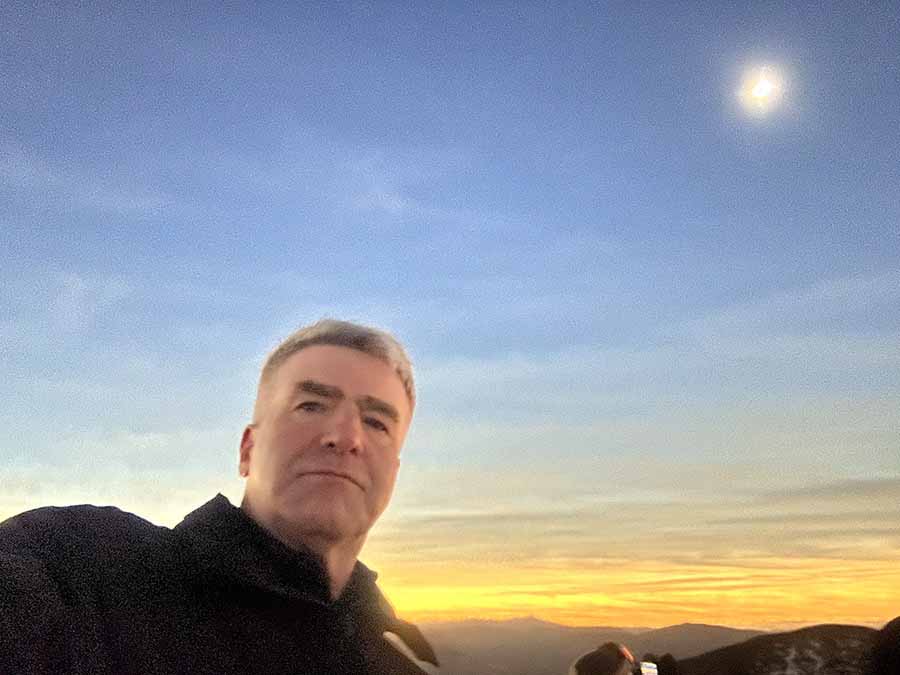
Most first-time eclipse photography attempts fail because they reduce observational time and increase cognitive load during a brief, high-emotion event. The primary goal should remain direct viewing of the eclipse. Photography is best treated as a secondary visual record rather than a publication-grade product—unless the photographer intends serious work through a telescope, in which case camera selection becomes critical.Required Method
Use a digital single-lens reflex (DSLR) camera. Phone and point-and-shoot cameras can record the event but lack the sensor performance, lens flexibility, and exposure control needed for useful eclipse imagery.Sensor Choice: APS-C vs. Full-Frame APS-C sensors (approximately 25.1 × 16.7 mm, 3:2 aspect ratio) deliver excellent results for eclipse work.
Full-frame sensors (36 × 24 mm) collect more light and improve signal-to-noise ratio at higher ISOs, but cost substantially more.
For eclipse photography, the added expense of full-frame is rarely justified. A properly used APS-C body produces outstanding images. Note that a larger sensor captures a wider field of view; the same lens on APS-C yields a narrower (cropped) field—for example, a 20 mm lens on full-frame behaves roughly like a 31 mm lens on APS-C.Megapixels
Aim for a minimum of 12 megapixels (approximately 4000 × 3000 pixels). Higher counts help only when individual pixels remain sufficiently large. Small pixels, common in phone sensors, collect less light and increase noise.Processor
Processor quality matters most for JPEG workflows, where the camera applies in-camera corrections and supports rapid bursts. In RAW mode followed by post-processing, processor quality is secondary to sensor and optics.Lens Light-GraspDuring totality, illumination drops to roughly one-millionth of normal daylight levels. Lens aperture and throughput become critical; camera body selection alone cannot compensate.
25 Tips for Photographing the Eclipse
Select equipment in advance. Decide whether to use a camera lens, a fixed-lens camera, or a telescope. Confirm an approved solar filter is available for the chosen optics and choose between stills and video.
- Practice thoroughly. Perform filtered solar photography well before eclipse day, testing a range of exposures. Review EXIF data (aperture, shutter speed, ISO, focal length) from the best frames. Near the thin crescent phase, increase exposure by several stops and bracket further if haze is present.
- Define the objective. Options include wide-angle shots of corona plus landscape, close-up sequences of partial phases and totality (often requiring tracking), or timed progressions later assembled into a montage.
- Arrive hours early. Secure a stable site, complete setup and testing, and resolve any issues before the eclipse begins.
- Document the context. Use a second camera to record people, equipment, and the surrounding scene; these images often hold greater lasting value.
- Verify memory capacity. Ensure ample storage and reserve extra space for the high volume of frames typically discarded.
- Bring spare batteries. Fully charge all batteries for cameras, remotes, and mounts; carry spares.
- Use first contact productively. Spend the first hour after first contact confirming exposure, focus, filtration, and composition. Switch to active capture mode about 25 minutes before totality.
- Secure the solar filter. Tape it firmly (blue painter’s tape works well) so wind or contact cannot dislodge it.
- Treat totality as extremely brief. If a problem cannot be solved in a few seconds, abandon photography and simply watch.
- Calculate field of view. Determine horizontal and vertical FOV from sensor dimensions and focal length so the 0.5° solar disk and desired surroundings fit the frame.
- Calculate FOV through a telescope. Substitute the telescope’s focal length for the camera lens focal length and recompute.
- Use the correct adapters. Pair a T-ring (camera mount specific) with a T-adapter matched to the telescope focuser diameter (1.25″ or 2″).
- Use a remote shutter release. Eliminate vibration caused by pressing the camera button.
- Estimate solar coverage on the sensor. Approximate the fraction of frame width occupied by the Sun as 0.5° divided by the horizontal FOV.
- Estimate corona coverage. Expect the corona (roughly two to three solar radii) to occupy about one-quarter to one-third of the frame width in typical systems.
- Allow adequate field for partial phases. Maintain at least 0.5° FOV (preferably more) so the Sun remains fully framed throughout the partial phases.
- Avoid very fast apertures. Shoot in the f/8–f/11 range for optimal sharpness; solar brightness easily supports these settings.
- Prioritize focus. Disable autofocus. Focus on a distant terrestrial target, then lock or tape the focus ring. Lenses can focus past infinity.
- Understand write times. Confirm that the camera-and-card combination can clear the buffer fast enough to avoid missed frames during bursts.
- Use an intervalometer. Automate timed sequences for continuous documentation with minimal intervention, especially on tracked mounts.
- Disable the flash. It provides no benefit and wastes battery power.
- Use an approved solar filter for all non-totality phases. The filter must reduce visible light by a factor of approximately 160,000. Welder’s glass is unsuitable for photography.
- Remove the filter only during totality. Bracket exposures extensively to capture both the bright inner corona and the fainter outer streamers.
- Mount the camera securely. Use a rigid tripod or telescope mount. Adding 10–20 lb of weight beneath the tripod head improves stability. Keep people clear of the legs.
- Process and share selected images promptly after the eclipse to maximize the chance of timely publication
Equipment
- Purchase Guidance Buy used via eBay for best value.
- Prefer Canon or Nikon bodies under $500.
- Choose APS-C sensors with at least 12 megapixels (18 MP models remain affordable).
- If imaging through a telescope, acquire a matching T-ring and T-adapter.
- Casual memory only → phone or point-and-shoot is acceptable.
- Serious imaging → DSLR.
- Budget under $500 → APS-C.
- Minimum 12 megapixels.
- JPEG workflow → prioritize processor and burst capability.
- RAW workflow → prioritize sensor and optics.
- Always match the lens to the extreme low-light conditions of totality.